|
|
| Line 1: |
Line 1: |
| − | ==产品规格参数== | + | ==Case 01: Hovering at A Defined Altitude== |
| − | <br>
| |
| − | 起飞重量 ( 含桨保护罩): 128g(含桨叶保护环和电池)<br>
| |
| − | 最大起飞重量:160g<br>
| |
| − | 最大水平飞行速度: 1.7米/秒<br>
| |
| − | 最长飞行时间 :11分钟(悬停)<br>
| |
| − | 工作环境温度 :5°C至40°C<br>
| |
| − | 工作频率:2.4 GHz 至 2.483 GHz<br>
| |
| | | | |
| − | == 相 机 == | + | ===Introduction=== |
| − | 摄像头:有效像素800万,视场角68度<br>
| |
| − | 视频格式:MP4<br>
| |
| | | | |
| − | ==飞行电池 ==
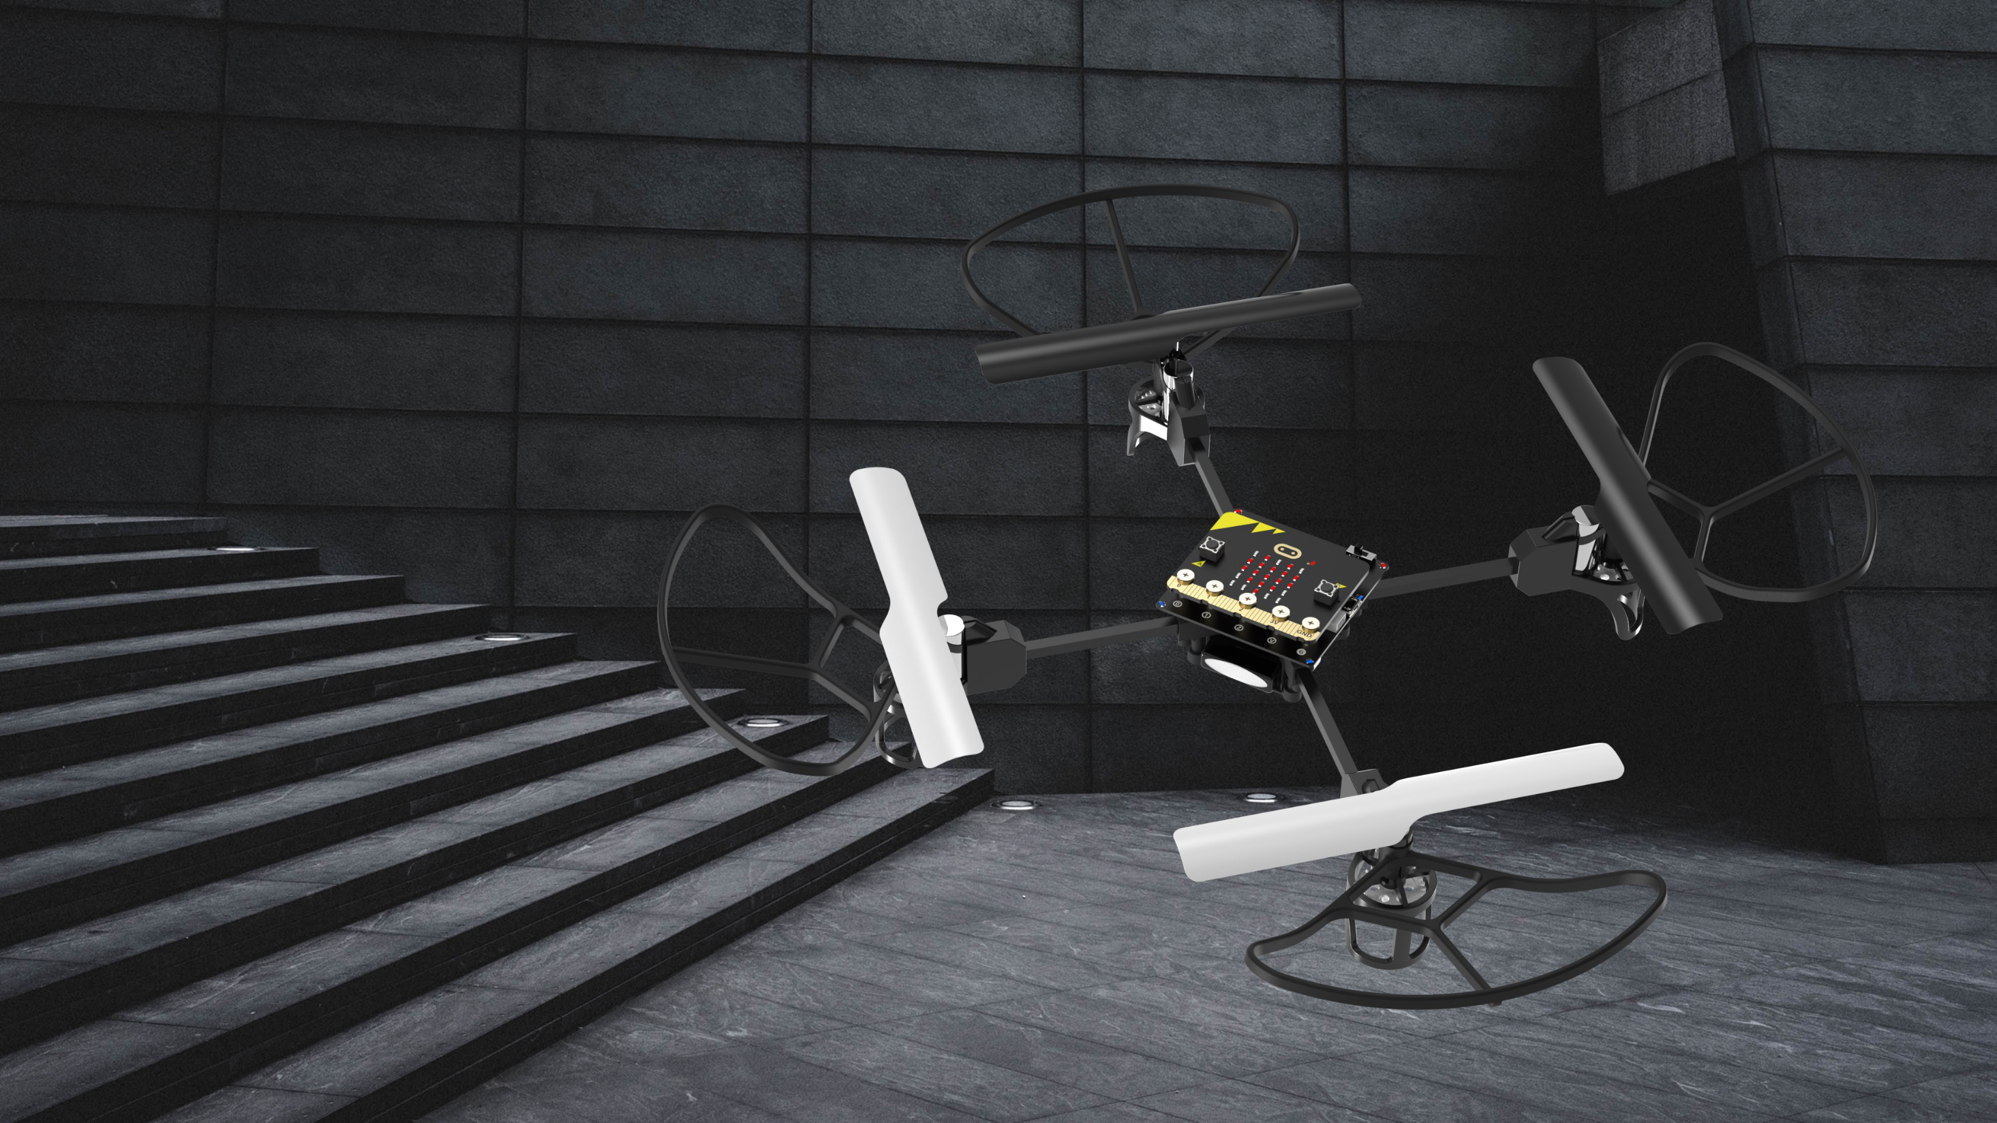
| + | Program to make the micro:bit Drone:bit Kit take off and hover for 10 seconds, then it lands to the ground. |
| − | <br>
| |
| − | 容 量:600mAh<br>
| |
| − | 电 压:7.4 V<br>
| |
| − | 电池类型:Lipo<br>
| |
| − | 能 量:4.44 Wh<br>
| |
| − | 电池整体重量:42g<br>
| |
| − | 充电环境温度:10°C至40°C<br>
| |
| − | 最大充电功率:10 W<br>
| |
| − | | |
| − | == 遥控器 ==
| |
| − | <br>
| |
| − | 工作频率 :2.4 GHz 至 2.483 GHz<br>
| |
| − | 最大信号有效距离:100 m(无干扰、无遮挡)<br>
| |
| − | 工作环境温度:5°C至40°C<br>
| |
| − | 等效全向辐射功率(EIRP):<=13 dBm<br>
| |
| − | 工作电流/电压:50mA @ 4.5V<br>
| |
| − | | |
| − | ===移动端LiteBee下载===
| |
| − | 安卓用户可在华为、百度、腾讯和360应用市场搜索LiteBee,苹果用户在APPStore搜索LiteBee,加载应用即可。<br>
| |
| − | 打开软件,点击Litebee Wing可以直接进入操控界面;<br>
| |
| − | 掌上端操控基于WiFi通信,支持操控和图像传输;连接WiFi:“LiteBee Wing_XXXX”,密码为12345678。<br>
| |
| − | | |
| − | 手机界面图<br>
| |
| − | [[File:C06app.png | 500px]]
| |
| − | | |
| − | ==LiteBee Go地址下载==
| |
| − | 浏览器地址输入 http://www.litebee.com ,在“产品中心”选择“LiteBee Wing”,进入软件下载界面获取LitebeeGo。<br>
| |
| − | | |
| − | ==安装完成==
| |
| − | 找到下载的安装包,右键以管理身份运行安装程序。<br>
| |
| − | [[File:C06-1.png | 200px]] <br><br>
| |
| − | [[File:C06-2.png | 500px]] <br><br>
| |
| − | 安装过程有杀毒软件,或者系统提示什么不安全,这个是正常,请放心,允许其安装即可。<br>
| |
| − | 选择电脑一个默认的位置安装即可,尽可能安装在英文目录下,中文目录软件有时候会出现奇怪问题或者报错。<br>
| |
| − | | |
| − | [[File:C06-3.png | 500px]] <br><br>
| |
| − | | |
| − | ==LiteBee Wing软件使用==
| |
| − | 在安装软件过程中会自动安装相关驱动,在编程工具栏“机型”中选择对应的产品,在此选择LiteBee Wing进入到编程界面。<br>
| |
| − | LiteBeeWing编程有两种方式。<br>
| |
| − | 其一,通过遥控器编程;<br>
| |
| − | 1)遥控器开机;<br>
| |
| − | 2)通过micro数据线把遥控器接入到电脑USB端口;<br>
| |
| − | 3)点击工具栏中“选择串口”选中识别的端口号(常见端口号COM3),点击“连接遥控”,连接成功将提示“已连接遥控”;<br>
| |
| − | 4)遥控器按下中间的“0”开启在线模式;<br>
| |
| − | | |
| − | 以上,Litebee Wing开机状态下就可以进行编程操作,如果步骤不正确请按照提示信息操作。<br>
| |
| − | | |
| − | 其二,通过WIFI连接编程(要求电脑支持无线网);<br>
| |
| − | 1)遥控器开机;<br>
| |
| − | 2)电脑搜索无线ID为LiteBee Wing_XXXX的设备;<br>
| |
| − | 3)点击工具栏中“连接WIFI”建立电脑与飞机的通信;<br>
| |
| − | | |
| − | | |
| − | 关于美国手(MODE2,左手油门)日本手(MODE1 右手油门)的操控切换有两种方式可以切换<br>
| |
| − | 其一,通过电脑刷写固件切换操作模式,此方式适用于遥控器固件升级。<br>
| |
| − | 1)遥控器关机;<br>
| |
| − | 2)通过micro数据线把遥控器接入到电脑USB端口;<br>
| |
| − | 3)点击工具栏中“选择串口”选中识别的端口号(常见端口号COM3),此时不要点击连接;<br>
| |
| − | 4)点击工具栏中“帮助”选择需要写入的模式固件(美国手(MODE2,左手油门)日本手(MODE1 右手油门));<br>
| |
| − | 5)根据提示“先断开USB连接,关闭遥控器,重新接入USB”把USB接入电脑,接入之后进入程序烧录模式;<br>
| |
| − | 6)烧录进度条读完提示更新完成,同时遥控器蜂鸣器鸣叫提示。断开USB连接,关闭提示窗口即完成。<br>
| |
| − | | |
| − | ==装配指引==
| |
| − | 飞行器装配指引<br>
| |
| − | [[File:Zhuzhaung-1.png ]]<br>
| |
| − | [[File:Zhuzhaung-2.png ]]<br>
| |
| − | [[File:Zhuzhaung-3.png ]]<br>
| |
| − | [[File:Zhuzhuang-4.png | 500px ]]<br>
| |
| − | | |
| − | ==飞行控制器简介==
| |
| − | | |
| − | 飞行器结构介绍<br>
| |
| − | [[File:Feijijiegou.png | 500px]]<br>
| |
| − | 飞行器灯语介绍<br>
| |
| − | [[File:Feijizhishideng.png | 500px ]]<br>
| |
| − | | |
| − | ===遥控器简介===
| |
| − | | |
| − | 遥控器介绍<br>
| |
| − | [[File:Yaokongjiemuian.png | 500px ]]<br>
| |
| − | 遥控器指引(美国手)<br>
| |
| − | [[File:Caokongzhinan.png | 500px ]]<br>
| |
| − | | |
| − | ==LiteBee Wing充电==
| |
| − | | |
| − | 充电器使用说明<br>
| |
| − | [[File:Chongdiancaozuo.png | 500px]]<br>
| |
| − | | |
| − | ==编程案例==
| |
| − | | |
| − | 通过编程控制无人机矩形飞行
| |
| − | <br>
| |
| − | [[File:Juxing.png ]]
| |
| − | | |
| − | ==拓展案例==
| |
| − | | |
| − | LiteBee Wing结构拓展搭建<br>
| |
| − | [[File:Tuozhananli.png | 500px ]]<br>
| |
| − | | |
| − | ==常见问题及解决办法==
| |
| − | 1.
| |
| − | 问:电机不转问题?<br>
| |
| − | 答:检查电机接线是否可靠;检查电机线是否脱落;桨叶是否过压卡住电机;用手拨动电机检查是否存在较大阻尼,若存在电机已经损坏,需要及时更换电机。<br>
| |
| − | <br>
| |
| − | 2.
| |
| − | 问:不能正常起飞?<br>
| |
| − | 答:A2:检查电机安装端子插线;检查电池电量;飞行前请校准飞行器。<br>
| |
| − | <br>
| |
| − | 3.
| |
| − | 问:LiteBee Go编程不能识别遥控器?<br>
| |
| − | 答:首次使用需要在LliteBeeGo中安装遥控器驱动,安装完成选择的通讯端口要与设备管理器中识别设备端口保持一致。<br>
| |
| − | <br>
| |
| − | 4.
| |
| − | 问:遥控器怎样从美国手切换日本手?<br>
| |
| − | 答:将遥控器通过数据线连接到电脑,在LiteBeeGo软件可以为遥控器下载日本手遥控器程序。<br>
| |
| − | <br>
| |
| − | 5.
| |
| − | 问:编程积木无人机出现高频率射桨?<br>
| |
| − | 答:更换新的螺旋桨叶。<br>
| |
| − | <br>
| |
| − | 6.
| |
| − | 问:编程积木无人机还可以负载多少重量?<br>
| |
| − | 答:建议在10g以内。<br>
| |
| − | <br>
| |
| − | | |
| − | ==Litebee Wing拓展件==
| |
| − | | |
| − | ===LiteBee Wing 巡线拓展模块说明书===
| |
| − | | |
| − | [[File:Xun 01.jpg]]
| |
| − | [[File:Xun 03.jpg]]
| |
| − | [[File:Xun 04.jpg]]
| |
| − | [[File:Xun 05.jpg]]
| |
| − | [[File:Xun 06.jpg]]
| |
| − | [[File:Xun7.png]]
| |
| − | [[File:Xun 08.jpg]]
| |
| − | [[File:Xun 09.jpg]]
| |
| − | [[File:Xun 10.jpg]]
| |
| − | [[File:Xun11.png]]
| |
| − | [[File:Xun12-1.png]]
| |
| − | [[File:Xun14.png]]
| |
| − | | |
| − | ===LiteBee Wing 磁吸拓展说明书===
| |
| − | | |
| − | [[File:Ci 01.jpg]]
| |
| − | [[File:Ci 03.jpg]]
| |
| − | [[File:Ci 04.jpg]]
| |
| − | [[File:Ci 05.jpg]]
| |
| − | [[File:Ci 06.jpg]]
| |
| − | [[File:Ci 07.jpg]]
| |
| − | [[File:Ci 08.jpg]]
| |
| − | [[File:Ci 09.jpg]]
| |
| − | [[File:Ci 10.jpg]]
| |
| − | [[File:Ci 11.jpg]]
| |
| − | [[File:Ci 12.jpg]]
| |
| − | [[File:Ci 13.jpg]]
| |
| − | [[File:Ci 14.jpg]]
| |
| − | [[File:Ci 16.jpg]]
| |
| − | | |
| − | ===LiteBee Wing 避障说明书===
| |
| − | | |
| − | [[File:Bi 01.jpg]]
| |
| − | [[File:Bi 03.jpg]]
| |
| − | [[File:Bi 04.jpg]]
| |
| − | [[File:Bi 05.jpg]]
| |
| − | [[File:Bi 06.jpg]]
| |
| − | [[File:Bi7.png]]
| |
| − | [[File:Bi 08.jpg]]
| |
| − | [[File:Bi 09.jpg]]
| |
| − | [[File:Bi 10.jpg]]
| |
| − | [[File:Bi11.png]]
| |
| − | [[File:Bi12.png]]
| |
| − | [[File:Bi14.png]]
| |
| | | | |
| | '''Drone:bit Kit''' | | '''Drone:bit Kit''' |
Case 01: Hovering at A Defined Altitude
Introduction
Program to make the micro:bit Drone:bit Kit take off and hover for 10 seconds, then it lands to the ground.
Drone:bit Kit
- The first drone assembled by yourself

The Exciting Drone:bit Kit
- The micro:bit Drone:bit Kit has successfully combined micro:bit with drones, which has provided another possibility for students to create and explore in the sky.
:Through your operation, you can give it commands of hovering at a fixed altitude , flying from a waypoint, curvilinear flight, and rolling in the sky etc. even in the classrooms, get your first professional micro:bit Drone:bit Kit now!

Drone:bit
- Optical flow locating, TOF fixing altitude
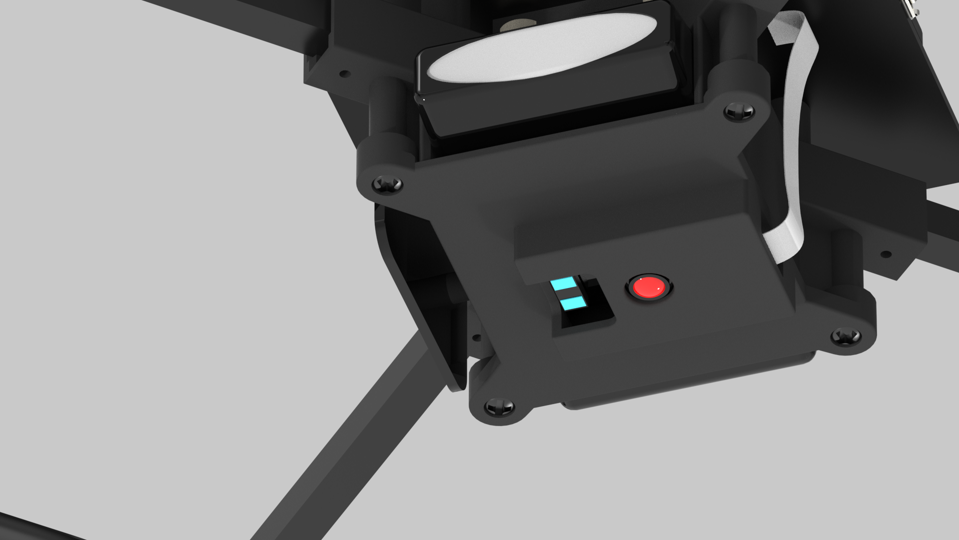
- It is a kind of drone in professional grade which is able to hover indoors in a waypoint , with build-in optical flow sensors in high sensitivity and TOF sensors, they help to hover and locate in a more precise way.
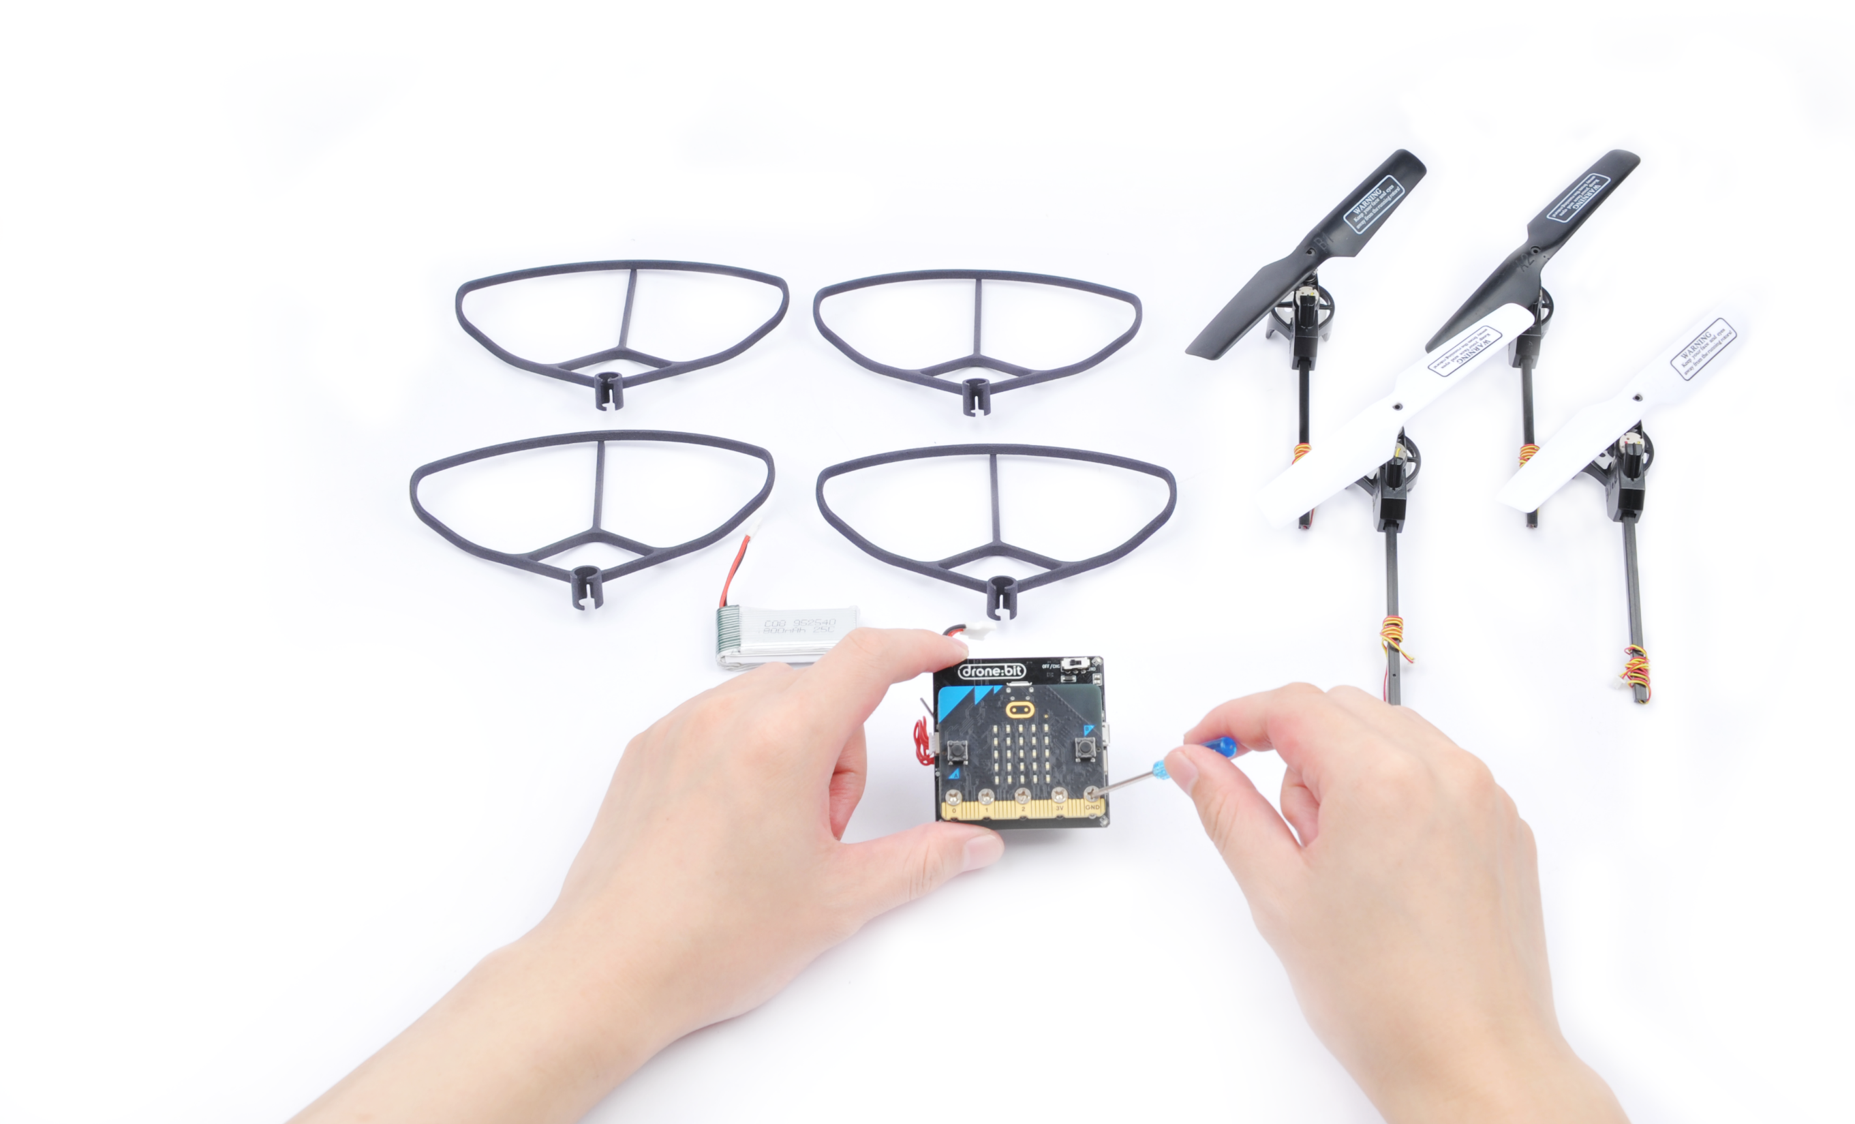
- Assemble by yourself, enjoy the fun from DIY.
- Create your infinite artworks through coding
- Simple graphical and Python programming, available for complicated flying routines, flying gestures and rolling etc., there are more possibilities waiting to be explored.
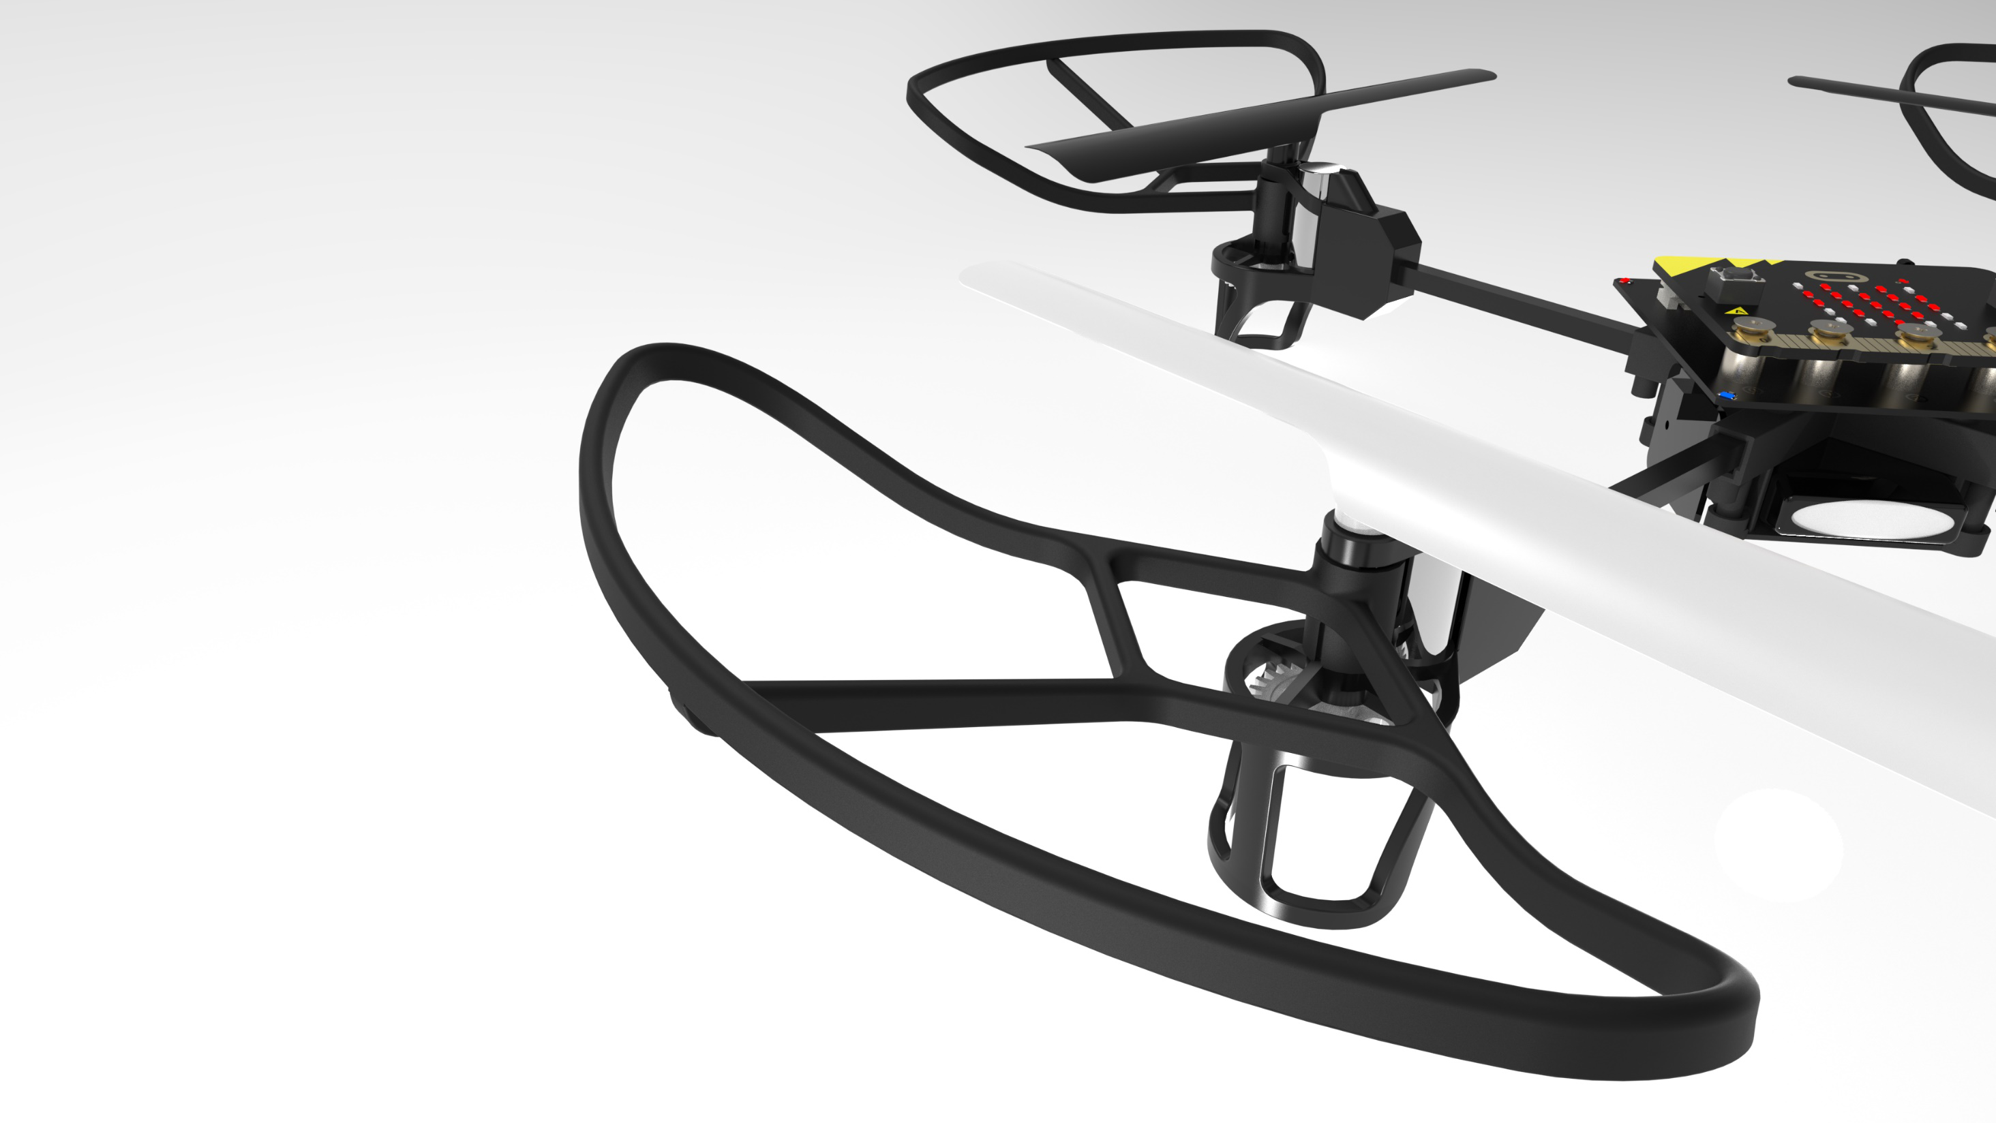
- The sealed propeller guards give you a safe flying experience.

- Self-assembled Drone
- Assembled by yourself and enjoy the fun from DIY
- Programmable for More Projects
- Simple graphical and Python programming, available for complicated flying routines, flying gestures and rolling etc., there are more possibilities waiting to be explored.
- 120° Propeller Guards
- The sealed propeller guards make sure your drone fly safely.
- Available Flight in Classrooms
- Drone:bit could fly in the classrooms!

Spcification
Rated Voltage               3.7V
Battery Capacity            800mAh
Charging Voltage            5V
Charging Current            0.8A
Charging Port               Micro-USB
Power Protection            Over Charge/Discharge Protection
Propeller Guards            Support
LED                         5 PCS (one for power indicator, four for status indicator)
Waypoints                   Optical Flow
Fixing Altitude             Barometer + TOF
Micro:bit Programming       Support
2.4G Remote Control Mode    Support
Flying Time                 8min


